Building a custom mechanical keyboard in 2026 is no longer a niche obsession reserved for soldering veterans. Thanks to hot-swap PCBs, pre-lubed switches, and an explosion of affordable kits, you can assemble a board that rivals $400 boutique models for half the price — and an afternoon of your time.
Pick Your Layout and Size First
Before buying a single switch, decide on form factor. Full-size (100%), TKL (80%), 75%, 65%, and 60% are the main contenders. Smaller layouts save desk space and travel weight but require layer-tapping for missing keys. For a first build, 75% hits the sweet spot: arrow keys, function row, and navigation cluster intact, plus broad case and PCB support.
💡
TipMatch your PCB to your layout. A 75% PCB won't fit in a 65% case. Verify mounting style (tray mount, gasket, top mount) before ordering.
Core Components Checklist
| Component | Budget Pick | Mid-Range | Premium |
|---|---|---|---|
| PCB (Hot-swap) | Keychron Q1 Barebone PCB | KBDfans KBD75 v3 | LZ75 / TGR Alice PCB |
| Case | YC65 Plastic | Keychron Q1 Aluminum | RAMA M65-A / TGR |
| Plate | FR4 (included) | Aluminum / Carbon Fiber | Brass / POM / Custom CNC |
| Switches | Gateron G Pro 3.0 Yellow | Akko CS Silver / Holy Panda X | ZealPC Zealios V2 / Tactile |
| Keycaps | KBDfans PBT | GMK Clone Sets (EPBT) | GMK / SP SA / MT3 |
| Stabilizers | Durock V2 / TX AP | Durock Piano / TX AP | Gateron KS-33 / Custom Wire |
Tools You Actually Need
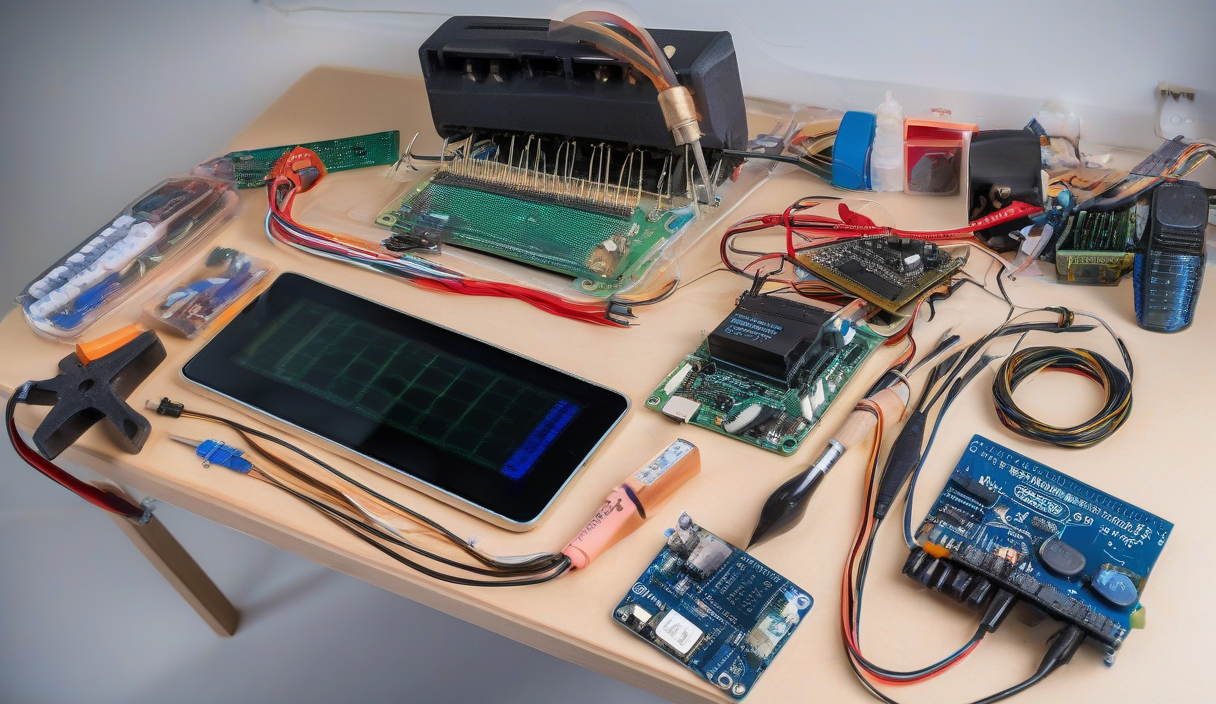
Hot-swap builds require minimal tooling: a keycap puller, switch puller, tweezers, and a 2mm hex driver for case screws. Skip the soldering iron unless you're doing a through-hole PCB or modding LEDs. Add a switch opener ($8) and lube station ($15) if you plan to hand-lube — highly recommended for linear switches.
Assembly Sequence: Do It in This Order
1. Test PCB with VIA/VIAL before installing anything. Plug in, tap each socket with tweezers — every key must register.
2. Install stabilizers. Clip, lube wires (dielectric grease), band-aid mod PCB holes, seat firmly.
3. Press switches into plate, then plate onto PCB. Align pins — hot-swap sockets are forgiving but not indestructible.
4. Add foam layers: PE foam between PCB and plate, Poron sheet under PCB, case foam bottom. This kills ping and hollow resonance.
5. Screw case together. Torque evenly — overtightening warps gasket mount feel.
6. Cap it, flash firmware (VIA/VIAL/QMK), tune keymap.
"The difference between a 'good' build and a 'great' one is almost entirely stabilizer prep and case foam. Switch choice matters less than people think.
— Hipyo, Keyboard Designer
Tuning for Sound and Feel
Want thock? Use POM or PC plate, Poron gaskets, thick PBT keycaps (Cherry profile), and lubed linear switches (Gateron Oil King, JWK T1). Prefer crisp tactility? Aluminum plate, FR4 plate foam, light tactile switches (Boba U4T, Durock T1), and SA profile caps. Pingy spacebar? Re-lube stabs, add dental floss mod to wire ends, ensure wire sits flat in housing.
⚠️
WarningDon't over-lube tactile switches. Excess lube on the tactile leg kills the bump. Bag-lube springs only; brush stems lightly.
Firmware and Final Polish
Flash VIA-compatible firmware via QMK Toolkit or VIAL web flasher. Map layers: base, navigation, media, RGB. Enable tap-hold for mods (hold Space = Ctrl). Set debounce to 5ms for gaming. Save JSON keymap — back it up. Finally, clean keycaps with isopropyl wipe, blow dust from plate with compressed air, and admire.
ℹ️
NoteFirst build budget reality: $180–$250 gets you aluminum case, hot-swap PCB, quality switches, GMK-clone keycaps, and tools. You'll reuse tools forever. Next build costs $120.
✦
Your first custom keyboard won't be perfect — but it will be yours. The muscle memory you build on a board you assembled yourself hits different. Order the parts this weekend. Clear Sunday afternoon. Join the Discord (r/MechanicalKeyboards, KeebTalk, vendor servers) for real-time help. Your endgame starts with one build.