You've spent $200 on a prebuilt keyboard that still feels mushy. The stabilizers rattle. The keycaps shine after a week. You're not buying another one — you're building it. A custom mechanical keyboard isn't a luxury. It's the only way to get exactly the sound, feel, and layout you want without compromise.
Pick Your Path: Hot-Swap vs. Soldered
Hot-swap PCBs let you press switches in without a soldering iron. Ideal for first builds. Soldered boards offer more layout flexibility and thinner profiles but demand steady hands and a temperature-controlled iron. For 2026, hot-swap is the default recommendation — especially with ANSI, ISO, and split layouts widely available in hot-swap variants.
💡
TipStart with a 65% or 75% hot-swap kit. You keep arrows and function row access without the bulk of a full-size.
Core Parts Checklist
| Component | Recommendation | Why It Matters |
|---|---|---|
| PCB | Hot-swap, QMK/VIA compatible | Firmware control without coding |
| Case | Aluminum or polycarbonate | Weight and sound signature |
| Plate | FR4 or carbon fiber | Flex vs. stiffness tuning |
| Switches | Pre-lubed linear (Gateron Oil King, Akko Cream Yellow) | Smooth out of box, no lube station needed |
| Stabilizers | Durock V2 or TX APC | Pre-clipped, low rattle |
| Keycaps | PBT, Cherry profile, dye-sub legends | Durability and texture |
| Foam | Poron case foam + PE switch pad | Deepens sound, reduces ping |
Tools You Actually Need
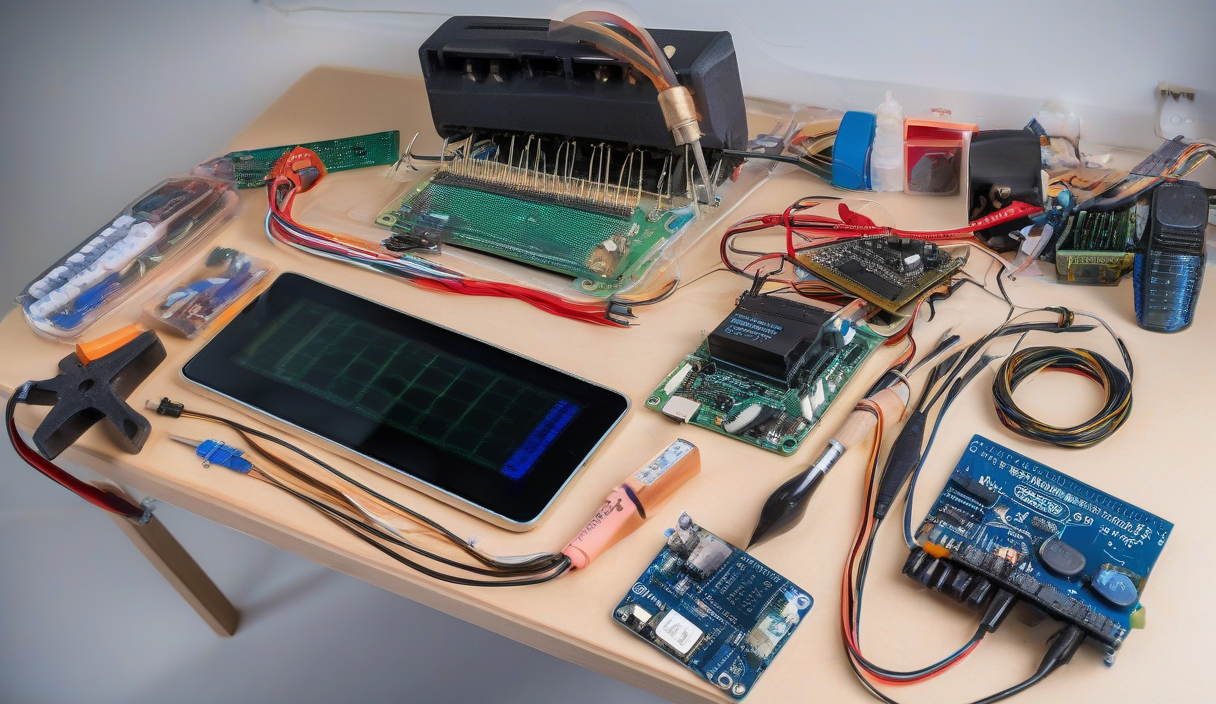
Skip the $300 toolkit. Grab: switch puller, keycap puller, tweezers, 2.5mm hex driver (for case screws), and a small brush for dust. If soldering: TS100 iron, 63/37 leaded solder, flux pen, desoldering braid. That's it.
Assembly: 13 Steps, 90 Minutes
1. Open case, remove PCB. 2. Install stabilizers — lube wires with dielectric grease, clip legs, band-aid mod the PCB. 3. Place switch plate on PCB. 4. Press switches in — straight down, no wiggle. 5. Add PE foam between PCB and plate. 6. Insert Poron foam into case bottom. 7. Seat PCB assembly into case. 8. Screw case together — finger tight, then quarter-turn. 9. Flash firmware via VIA web configurator. 10. Map layers, rotary encoder, RGB. 11. Install keycaps. 12. Test every key with VIA tester. 13. Type. Adjust. Repeat.
Tuning: Where Good Becomes Great
Lube springs with Krytox 105 (bag-lube method). Swap films for tighter housing fit. Try tape mod — three layers of painter's tape on PCB back — for deeper thock. Experiment with plate materials: PC for pop, aluminum for clack, FR4 for balance. Record sound tests. Compare. Iterate.
"The best keyboard isn't the most expensive — it's the one you stop noticing because it disappears into your workflow.
— Kinetic Labs, 2026 Build Report
✦
ℹ️
NoteYour first build won't be perfect. That's the point. You now own the stack — hardware, firmware, feel. Next build: split ergonomic, hall effect switches, custom PCB design. Start today. Order the kit. Clear the desk. Build.