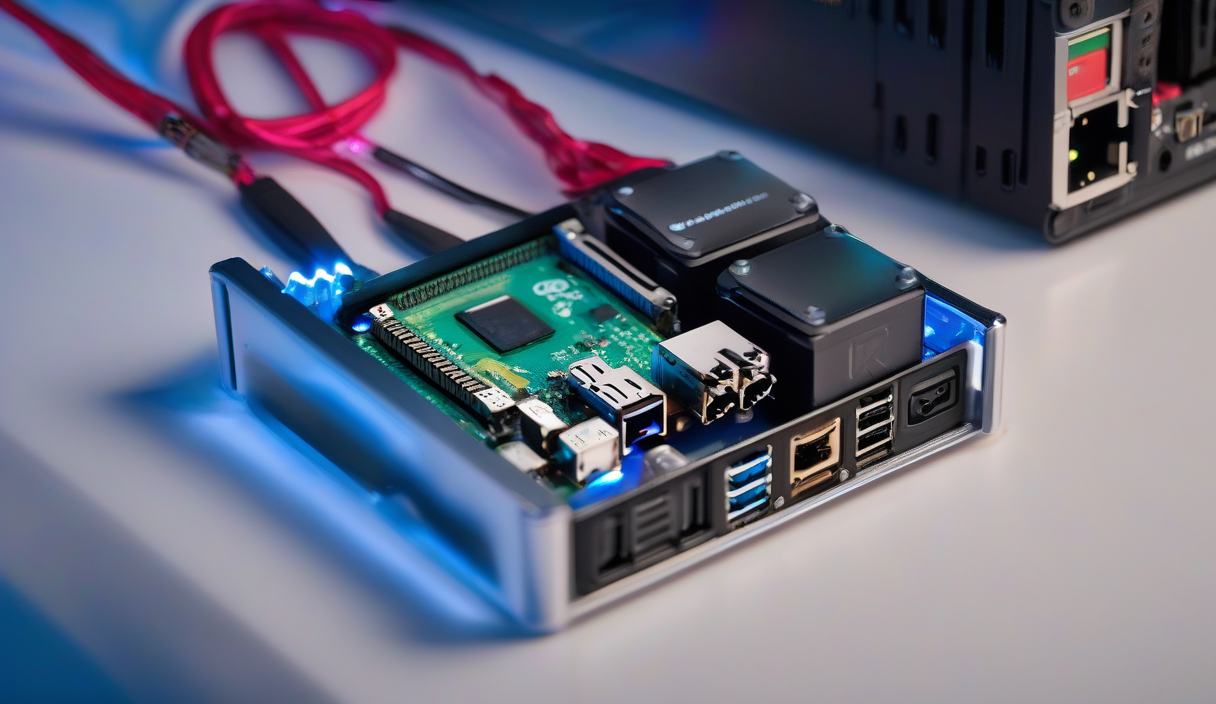
Most weather station tutorials stop at "it works on my bench." This guide goes further: a rugged, solar-powered Arduino weather station that logs to the cloud, survives rain, and teaches you the engineering decisions that separate a demo from a deployment.
Hardware Selection: Sensors That Survive
Skip the DHT11. It drifts, fails in humidity, and dies fast outdoors. Use a BME280 (temperature, humidity, pressure) in a radiation shield. For wind, the Davis 6410 anemometer and wind vane are industry standards — reed switches and a potentiometer, no fragile optics. Rain? A tipping bucket (Davis 6465) gives 0.2mm resolution. All three terminate in RJ11 connectors; wire them to a screw-terminal shield on your Arduino.
💡
TipMount sensors on a 1.5" PVC mast with UV-resistant zip ties. Ground the mast to a copper rod — lightning loves tall metal.
Microcontroller & Power Architecture
An Uno WiFi Rev2 or Nano 33 IoT handles TLS and MQTT natively. For deep sleep, the ESP32-S3 (via Arduino core) draws 15µA vs 15mA on an Uno. Power path: 6W 6V solar panel → TP4056 charger → 18650 Li-ion (3000mAh) → 3.3V LDO (MCP1700-3302E). Add a Schottky diode on the panel to block reverse leakage at night.
PCB Design: From Breadboard to Board
Two-layer 1.6mm FR4, 2oz copper. Keep analog sensor traces away from the switching charger. Place the BME280 on a daughter board with a 4-pin JST-SH connector — heat from the MCU skews readings. Route I2C with 4.7k pull-ups to 3.3V at the master. Add TVS diodes (SMAJ5.0A) on every external connector. Panelize with mouse bites for easy break-off.
| Net | Width | Via | Note |
|---|---|---|---|
| SOLAR_IN | 0.5mm | No | 6V max |
| BAT | 0.8mm | Yes | High current |
| I2C_SDA | 0.2mm | No | 4.7k pull-up |
| ANEMOMETER | 0.2mm | No | Reed switch |
Firmware: Reliable Telemetry
Structure: wake → read sensors (3 retries, 100ms backoff) → build JSON → MQTT publish with QoS 1 → wait for PUBACK → deep sleep. Use ArduinoJson v7 (static allocation). Store WiFi/MQTT creds in NVS (ESP32) or EEPROM (AVR). Implement a watchdog: if MQTT fails 3x, reboot modem, not the whole MCU.
Cloud & Visualization
MQTT → Mosquitto on a $5 VPS → Telegraf → InfluxDB → Grafana. Dashboard panels: 24h temp/humidity, wind rose (use wind direction histogram), rainfall accumulation, battery voltage trend. Set alerts: battery <3.4V, no data >10min, wind >80km/h. Retention: 30 days hot, 1 year downsampled to 1h mean.
ℹ️
NoteUse Let's Encrypt certs on the broker. ArduinoBearSSL validates the CA chain — embed the ISRG Root X1 PEM in flash.
Enclosure & Environmental Hardening
IP65 polycarbonate box (Bud Industries NBF-32301). Cable glands: PG7 for sensor cables, PG9 for solar. Desiccant pack (silica gel, 10g) + breather vent (Gore PEV) prevents condensation. Conformal coat the PCB (MG Chemicals 422C) — skip the BME280 and connectors. Strain-relieve every wire with hot glue inside the box.
"The best sensor is the one that still works after six months of frost, heat, and bird droppings.
— Field deployment rule
Calibration & Validation
Co-locate with a Davis Vantage Pro2 for 7 days. Log raw ADC counts vs reference. Fit linear correction: T_corrected = 1.02 * T_raw - 0.4. Wind speed: compare anemometer pulse count to reference gusts; adjust calibration constant in firmware. Pressure: apply altitude offset (hPa = hPa_raw * (1 - 0.0065 * altitude_m / 288.15)^5.255). Store coefficients in NVS; update OTA.
✦
Next Steps: Make It Yours
Order the PCB from JLCPCB (5 pcs, $2). Flash the firmware. Mount it. Watch the first real data hit Grafana. Then iterate: add soil moisture, UV index, or a LoRaWAN fallback for remote sites. The station is a platform — your requirements decide the next sensor.
💡
TipPush firmware updates via Arduino OTA over MQTT. Sign binaries with ed25519; verify on device before flash.