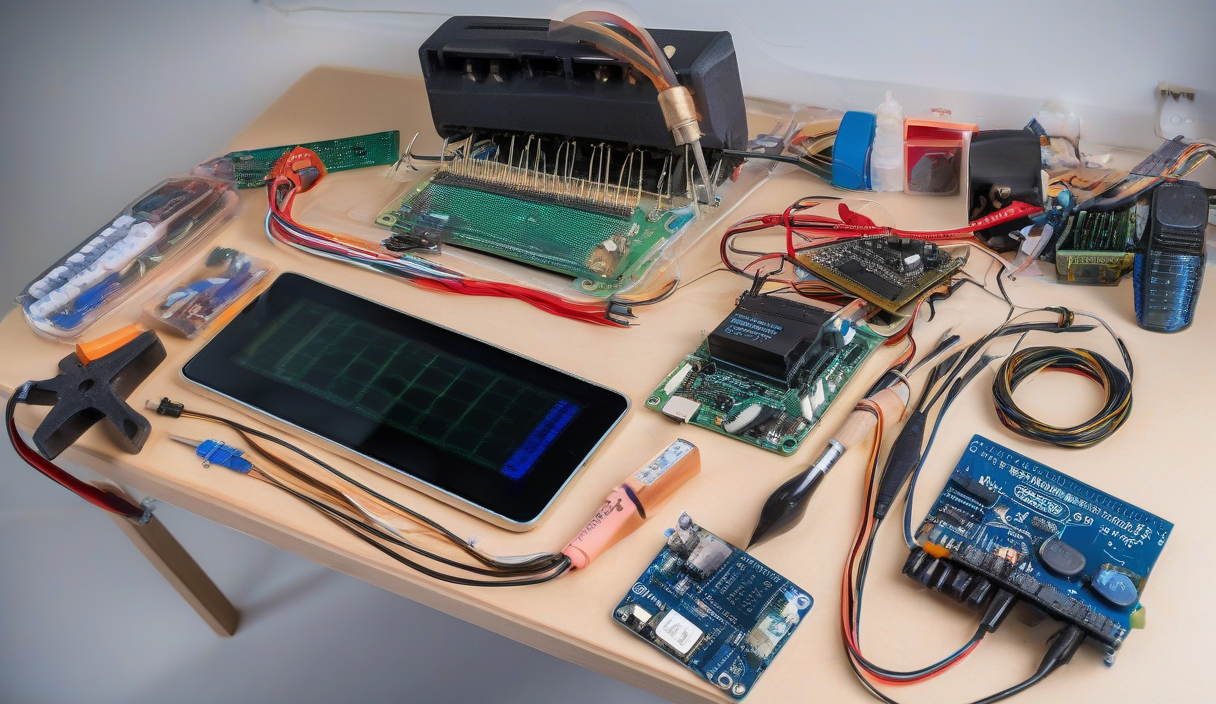
You've got a breadboard, a bag of jumper wires, and that itch to make something move on its own. Building your first Arduino robot isn't a rite of passage—it's the moment abstract code becomes physical consequence. This guide takes you from unboxing to first drive in a single weekend, no engineering degree required.
Pick Your Path: Kit vs. Scratch Build
Absolute beginners should start with a complete chassis kit ($35-50). You get motors, wheels, battery holder, and mounting holes pre-aligned. The Elegoo Smart Car or SunFounder PiCar-V eliminate mechanical guesswork. If you already have spare DC motors and a 3D printer, design your own chassis—but budget two extra evenings for iteration.
💡
TipBuy a kit with an L298N or TB6612 motor driver included. Separate driver boards add wiring complexity you don't need yet.
Microcontroller Decision: Arduino Uno vs ESP32
The Uno R3 is foolproof: 5V logic, massive library support, and you can't brick it. The ESP32 adds Wi-Fi, Bluetooth, and dual cores for $2 more—but runs at 3.3V, requiring level shifters for 5V sensors. For robot #1, stick with the Uno. Upgrade to ESP32 when you need remote telemetry or OTA updates.
| Feature | Arduino Uno R3 | ESP32 DevKit |
|---|---|---|
| Voltage | 5V | 3.3V |
| Wireless | None | Wi-Fi + BT |
| PWM Pins | 6 | 16 |
| Price | $23 | $9 |
| Best For | Learning basics | IoT robots |
The Drive Base: Wiring Diagram
Two DC gear motors (TT yellow 1:48 ratio), one L298N driver, 7.4V 2S LiPo, Uno. Connect motor terminals to OUT1/OUT2 and OUT3/OUT4. ENA/ENB to Uno pins 5 and 6 (PWM). IN1-IN4 to pins 7,8,9,10. Battery to driver VCC/GND, driver 5V out to Uno Vin, common ground everywhere.
⚠️
WarningNever power the Uno from USB while the LiPo is connected to the driver. Backfeed destroys the USB regulator. Unplug USB before connecting battery.
Safety Checks Before First Power-Up
1. Verify motor polarity: swap IN1/IN2 if a wheel spins backward. 2. Measure driver output with multimeter before connecting motors—confirm PWM varies 0-7V. 3. Secure battery with Velcro strap; a loose LiPo shorts on chassis standoffs. 4. Add a 5A automotive fuse on the battery lead. 5. Keep a wooden block handy to prop the robot during code uploads.
"The robot that doesn't move teaches you more than the one that does. Debug the silence.
— Every roboticist ever
First Sensor: Ultrasonic Obstacle Avoidance
Mount an HC-SR04 on a micro servo at front center. VCC to 5V, Trig to pin 11, Echo to pin 12, Servo signal to pin 3. Sweep 30°-150°, log distances, turn away from anything <20cm. This single sensor transforms a remote-control car into an autonomous agent.
Weekend Upgrade Path
Saturday: chassis + drive code. Sunday morning: ultrasonic + servo sweep. Sunday afternoon: add line-following module (TCRT5000) for track mode, or Bluetooth module (HC-05) for phone control. Each module teaches one new library and one new wiring pattern. By Monday you have a platform, not a project.
ℹ️
NoteDocument pin assignments in a Google Sheet. Six months from now you'll rebuild this robot and thank past you.
✦
Your first robot will stall on carpet, eat batteries, and ignore obstacles at 3pm when the sun hits the ultrasonic sensor. That's not failure—that's data. Fix one thing, upload, test again. The robot you build next month will be unrecognizable. Start today: order the kit, clear the workbench, and make something move.