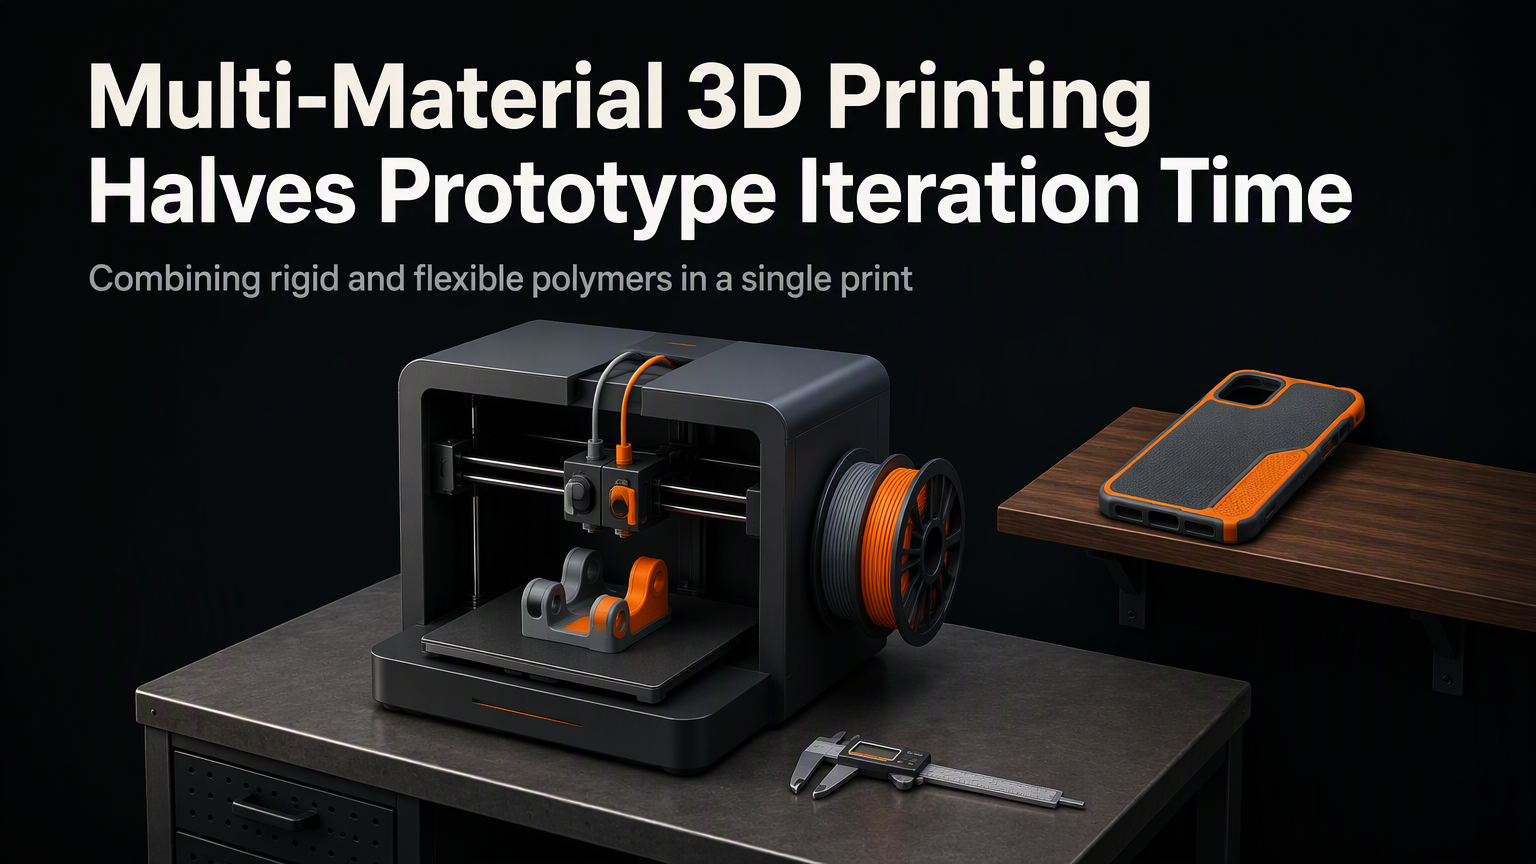
Your prototype just failed its stress test. The bracket cracked at the transition zone where rigid meets flexible. In a single-material world, you'd redesign, reslice, reprint, and wait. Again. Multi-material 3D printing changes that equation: teams at BMW and Formlabs report cutting iteration cycles from two weeks to three days by printing functional gradients in one job.
Three Architectures, One Goal
Multi-material FDM falls into three hardware categories. Each solves material switching differently, and each imposes distinct constraints on your workflow.
| System | Switch Mechanism | Purge Waste | Calibration Burden | Max Materials |
|---|---|---|---|---|
| Single-nozzle (MMU/ERCF) | Filament selector + retraction | High (15-40g/switch) | Moderate (tool offsets only) | 5-8 |
| IDEX | Dual independent carriages | Low (prime tower only) | High (X/Y/Z sync + tilt) | 2 |
| Toolchanger (E3D/Prusa XL) | Pick-and-place hotends | Minimal (per-tool purge) | Highest (per-tool Z + XY) | 4-8+ |
Single-nozzle systems like Prusa MMU3 or Bambu AMS keep hardware simple but punish you on purge. A 4-material print can waste 120g of filament before the first layer of your part. IDEX eliminates purge between materials but demands near-perfect gantry alignment — a 0.1mm X-offset error ruins overhangs on the second head. Toolchangers give you the cleanest switches and widest material palette, but each tool needs its own Z-offset, flow calibration, and thermal soak profile.
💡
TipStart with a single-nozzle MMU if you're validating geometry. Graduate to toolchanging only when you need dissolvable supports or conductive traces embedded in structural plastic.
Where Iteration Time Actually Disappears
The speedup isn't from faster printing. It's from collapsing the design-validate loop. Consider a drone arm that needs carbon-fiber nylon for stiffness, TPU for vibration damping at the mount, and PETG for the electronics enclosure.
Old workflow: Print three separate parts (3×4hr), assemble with screws/epoxy (2hr), test, find resonance at mount, redesign TPU geometry, reprint TPU only (4hr), reassemble (1hr). Total: ~19 hours per cycle.
Multi-material workflow: Print single integrated part (6hr with purges), test, tweak TPU shore grade in slicer, reprint (6hr). Total: ~12 hours per cycle. Two iterations fit in one workday.
"The prototype isn't the part. The prototype is the question you're asking the machine. Multi-material lets you ask better questions faster.
— Stefan Hermann, CNC Kitchen
The Hidden Costs Nobody Mentions
Slicer support remains fragmented. PrusaSlicer handles MMU paint-on transitions natively. Cura's toolchanger profiles require manual post-processing scripts. OrcaSlicer has the best IDEX prime-tower logic but struggles with toolchange G-code macros. Budget 20% of your first month for slicer debugging.
Material compatibility is stricter than spec sheets suggest. You can't pair ABS (100°C bed) with TPU (40°C bed) on a single build plate without warping one. Match glass-transition temperatures within 15°C or accept compromised adhesion. The safest combos: PLA/PETG/TPU, ASA/ABS/PC, PA-CF/PA-GF/PET-CF.
⚠️
WarningPurge waste isn't just filament cost. On a 5-material toolchanger print, the purge bucket fills every 3 hours. Unattended overnight runs fail when the bucket overflows onto the Z-leadscrew.
Decision Matrix for 2026
| Your Priority | Buy This | Avoid |
|---|---|---|
| Lowest hardware cost | Bambu A1 + AMS Lite ($450) | Toolchanger kits |
| Dissolvable supports for complex internals | Prusa XL 5-tool ($3,500) | Single-nozzle MMU |
| Production jigs with embedded hardware | E3D ToolChanger on Voron ($2,800 DIY) | IDEX (only 2 materials) |
| Education / shared lab | Prusa MK4 + MMU3 ($1,300) | Custom toolchangers |
Your First Multi-Material Print This Week
Don't upgrade hardware yet. Borrow time on a Prusa XL at a local makerspace or order a $15 test print from PrintAWorld. Design a 50mm cube with: shell in PETG, internal lattice in TPU 95A, top face in PLA with embedded M3 heat-set inserts. Slice in OrcaSlicer using the 'Multi-Material Test' preset. Measure dimensional accuracy at material boundaries. If transitions hold within 0.15mm, your workflow is ready for the investment.
ℹ️
NotePro tip: Run a single-material calibration cube first. If your single-material tolerance exceeds 0.1mm, multi-material will amplify errors. Fix the base machine before adding complexity.