

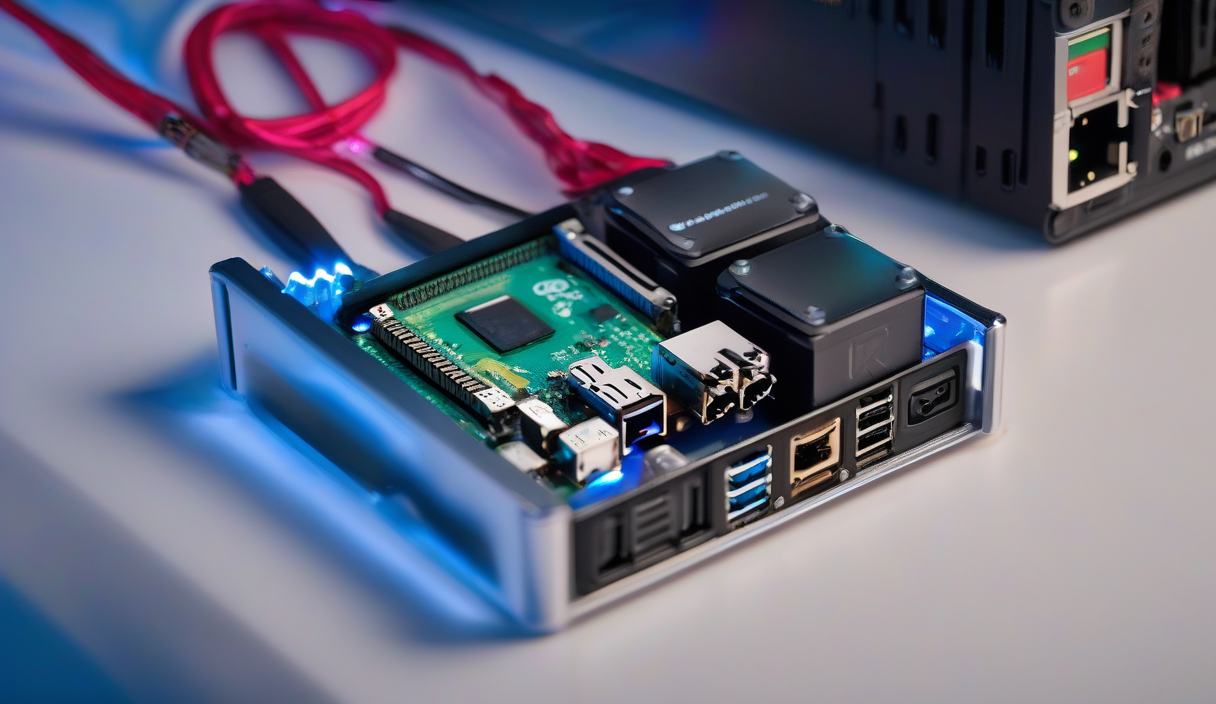
Your Google Photos library is full. Again. You could pay $20 a year for 100GB, or you could spend that same money once on hardware you own forever. A Raspberry Pi NAS puts terabytes of redundant, private storage under your desk — no subscription, no data mining, no egress fees.
What You Need
| Component | Recommendation | Approx. Cost |
|---|---|---|
| Board | Raspberry Pi 4 Model B (4GB or 8GB) | $55–$75 |
| Storage | 2× 4TB 2.5" USB 3.0 drives (WD Elements/Seagate Expansion) | $180 |
| Power | Official 15W USB-C PSU + powered USB hub | $25 |
| Case | Argon ONE M.2 or FLIRC for passive cooling | $30 |
| OS Media | 32GB microSD (A2/V30 rated) | $8 |
💡
TipSkip the SATA HAT. The Pi 4's native USB 3.0 hits 350+ MB/s — plenty for dual mechanical drives. SATA adapters add cost, cables, and failure points without real-world speed gains.
Install the OS
Flash Raspberry Pi OS Lite (64-bit) to the microSD using Raspberry Pi Imager. Enable SSH, set hostname to nas.local, and configure Wi-Fi or static Ethernet. Boot, SSH in, then run the standard update dance:
Prepare the Drives
Identify your disks with lsblk. They'll appear as sda and sdb. Wipe partitions, then create a single Linux partition on each:
Build the Mirrored Array
We'll use mdadm for RAID 1 — simple, battle-tested, and readable on any Linux box if the Pi dies. Install mdadm, then create the array:
⚠️
WarningThe initial sync takes 6–10 hours for 4TB drives. The array is usable immediately but vulnerable until sync completes. Check progress with <code>cat /proc/mdstat</code>.
Filesystem & Mount
Format with ext4, create a mount point, and persist it in /etc/fstab using the array's UUID (find it with blkid /dev/md0):
Share It: Samba for Everyone
Install Samba, create a dedicated user, and configure a share that works for Windows, macOS, and Linux clients:
Automate Backups & Monitoring
A NAS without backups is just a single point of failure with better marketing. Add a third USB drive (offsite rotation) or push critical folders to Backblaze B2 with rclone. For monitoring, install smartmontools and mdadm email alerts:
✦
Your Turn
You now have a 4TB mirrored NAS that costs less than two years of cloud storage and answers to no one. Next weekend: add Docker, run Plex or Immich, or expose it via Tailscale for secure remote access. The hardware is yours. The data is yours. Start copying.


