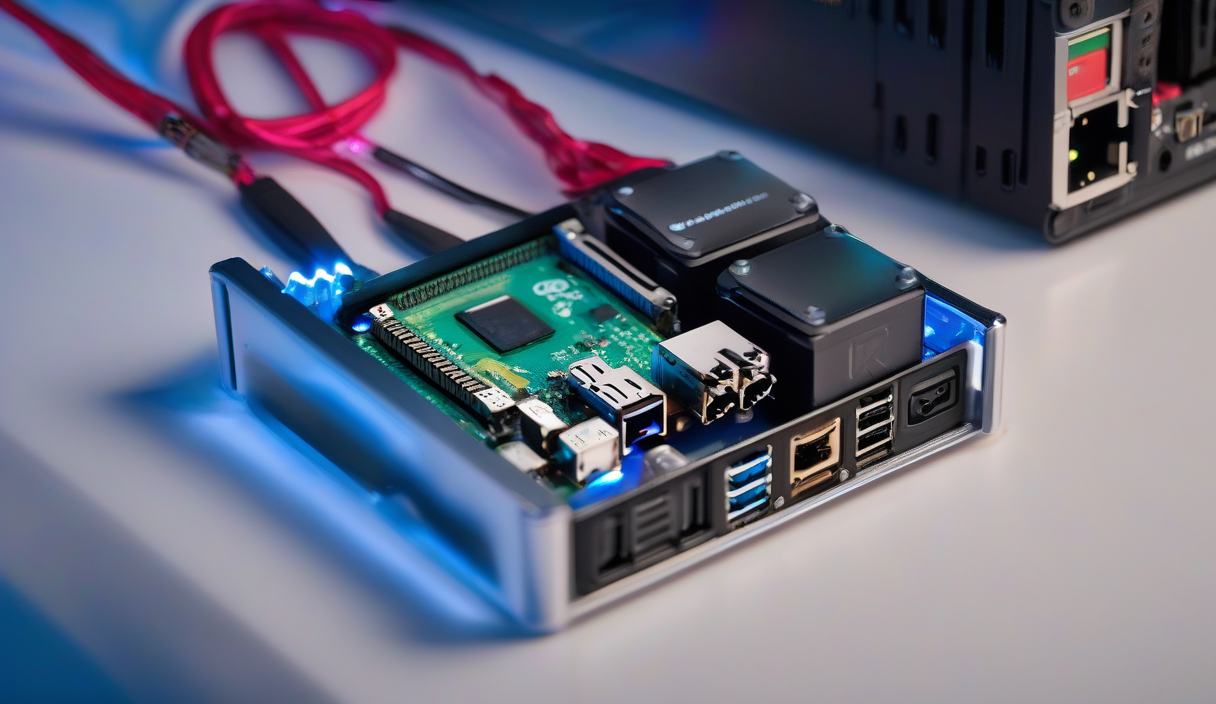
You don't need a PhD or a lab coat to build a robot. You need a $50 kit, a free afternoon, and the willingness to debug a loose wire. In 2026, the barrier to entry has effectively collapsed. Arduino-based kits ship with pre-soldered motor drivers, plug-and-play ultrasonic sensors, and libraries that handle the heavy math. Your job is assembly, logic, and iteration.
Pick the Right Kit
Skip the bare-bones chassis kits that require you to source motor drivers, voltage regulators, and header pins separately. They save $10 but cost hours of troubleshooting. Target all-in-one kits in the $55–$75 range: Elegoo Smart Robot Car v4.0, SunFounder PiCar-X (if you prefer Python), or the Freenove 4WD. Look for three things: an integrated motor shield (L298N or TB6612FNG), an HC-SR04 or VL53L0X distance sensor included, and a battery holder for 18650 cells—AA packs die in 20 minutes.
💡
TipBuy a kit with a Bluetooth or Wi-Fi module (ESP32-based boards are standard now). It lets you debug wirelessly instead of tethering USB cables to a moving chassis.
The 3-Hour Build Plan
Block out a single session. Interrupted builds gather dust.
Hour 1: Mechanical. Mount motors, wheels, caster, and battery pack. Route wires through chassis cutouts before tightening the last screw. Label motor leads “L” and “R” with tape—reversing them in software later is a bad habit.
Hour 2: Wiring. Connect motor shield to Arduino. Plug sensor into designated pins (usually Trig=12, Echo=13). Seat the Bluetooth module. Double-check polarity on the 18650s; reversed cells fry the voltage regulator instantly.
Hour 3: Code & Calibrate. Upload the basic obstacle-avoidance sketch. Set a safe distance threshold (20 cm default). Watch it hit a chair leg. Lower threshold. Watch it freeze in a doorway. Add a random-turn routine. That’s your first algorithm.
Common Failure Modes
| Symptom | Likely Cause | Fix |
|---|---|---|
| One wheel spins backward | Motor leads swapped | Swap pins in code or rewire |
| Jitters at low speed | PWM frequency too low | Set 20kHz on TB6612FNG |
| Resets when motors start | Voltage sag from weak cells | Use 18650s, add 470µF cap |
| Bluetooth drops | Power sharing with motors | Separate 5V regulator for BT |
"The robot that works perfectly on the bench fails on the carpet. Test on the actual floor surface you'll run it on.
— Every maker ever
Next Steps This Weekend
Don't just celebrate the first successful lap. Add one feature: line following with IR array, object tracking with a Pi Camera module, or maze solving with wall-follow logic. Each addition teaches a new subsystem—sensors, vision, state machines—without requiring a new chassis. The kit you bought is a platform, not a project.
ℹ️
NoteDocument your pinout, library versions, and calibration values in a README.md on GitHub. Six months from now, you will thank yourself when you upgrade the microcontroller.
✦
Grab the kit. Clear the dining table. Build the thing. The code compiles, the wheels turn, and suddenly you're not a beginner anymore—you're a roboticist with a debug log.