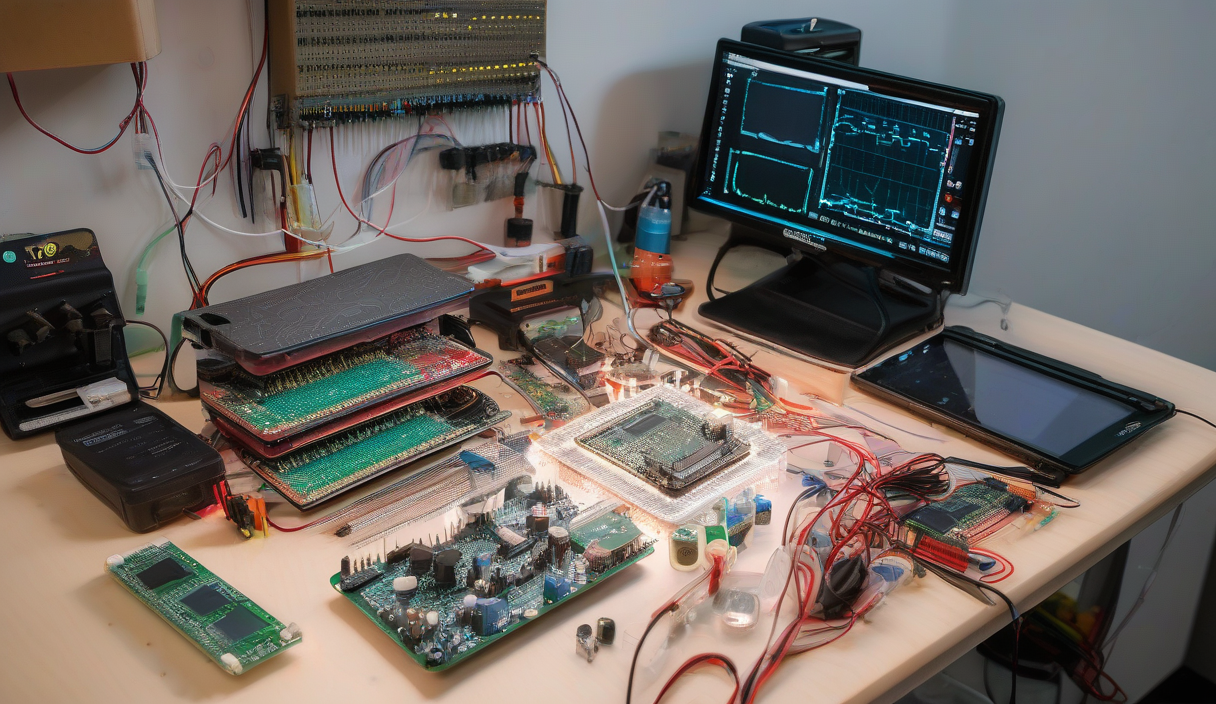
You stare at a bare PCB, soldering iron hot, components scattered like puzzle pieces. That moment — when theory meets heat and flux — is where engineers are made. Whether you're blinking your first LED or designing a custom ESP32 mesh network, the path from breadboard to finished product follows the same rhythm: learn, build, break, fix, repeat.
Start Small: Soldering and Breadboard Fundamentals
Every complex system begins with a clean joint. Invest in a temperature-controlled iron (300–350°C), 0.5mm lead-free solder, and a brass sponge. Practice on perfboard: through-hole resistors, capacitors, DIP ICs. Master the 'wet both sides' rule — pad and lead — before adding flux. A $15 helping-hands tool saves more frustration than any tutorial.
💡
TipCold joints look dull and cracked. Reheat until solder flows smooth and shiny. If it balls up, clean the tip and add flux.
Level Up: Arduino to ESP32 Migration
Arduino Uno teaches logic. ESP32 teaches scale. Dual-core, Wi-Fi, BLE, 34 GPIOs, and 520KB SRAM turn 'blink' into 'IoT gateway.' Start with the ESP32 DevKit V1. Use PlatformIO in VS Code — not the Arduino IDE — for library management, unit testing, and multi-environment builds. Port sketches by replacing `delay()` with FreeRTOS tasks and `Serial` with structured logging.
"The ESP32 isn't a faster Arduino. It's a miniature Linux box without the OS overhead. Design for concurrency from day one.
— Espressif Systems Engineer
| Feature | Arduino Uno | ESP32 DevKit V1 |
|---|---|---|
| MCU | ATmega328P | Xtensa LX6 Dual-Core |
| Clock | 16 MHz | 240 MHz |
| RAM | 2 KB | 520 KB |
| Wireless | None | Wi-Fi 4 + BLE 5.0 |
| GPIO | 14 Digital, 6 Analog | 34 Programmable |
| Deep Sleep | ~15 mA | ~10 µA |
Design Your Own PCB: From Schematic to Fabrication
Breadboards fail at high speed, vibration, and production. KiCad 8 (free, open-source) handles schematic capture, footprint assignment, DRC, and Gerber export. Follow this workflow: 1) Define net classes for power, high-speed, analog. 2) Place decoupling capacitors <1mm from IC power pins. 3) Route power planes on inner layers. 4) Keep differential pairs (USB, Ethernet) length-matched within 0.1mm. 5) Add test points, silkscreen labels, and fiducials. 6) Run DRC with 6/6 mil rules for 2-layer, 4/4 mil for 4-layer. 7) Export Gerbers + drill files + BOM + CPL for JLCPCB or PCBWay.
⚠️
WarningNever route high-speed signals across split ground planes. Return currents follow the path of least inductance — not least resistance.
Advanced Build: ESP32 Environmental Sensor Node
Combine BME688 (gas, pressure, temp, humidity), SGP40 (VOC), and MAX17048 (fuel gauge) on a custom 4-layer PCB with USB-C PD, LiPo charging, and microSD logging. Firmware: FreeRTOS tasks for sensor polling (1Hz), LoRaWAN uplink (15min), OTA updates, and deep sleep (18µA). Enclosure: IP67-rated, 3D-printed ASA with Gore-Tex vent. Power: 2500mAh 18650 + 2W solar. Total BOM: ~$42 at 10 units.
✦
Your Next Build Starts Now
Pick one: order a $12 ESP32 DevKit, install PlatformIO, and blink an LED with FreeRTOS. Or open KiCad, place a 0805 LED + 330Ω resistor + USB-C connector, route it, send to fab. The gap between 'I want to build' and 'I built' is one solder joint. Close it today.
ℹ️
NoteJoin r/PrintedCircuitBoard, r/esp32, and KiCad Discord. Post your Gerbers for review before ordering. Community catches errors datasheets don't.