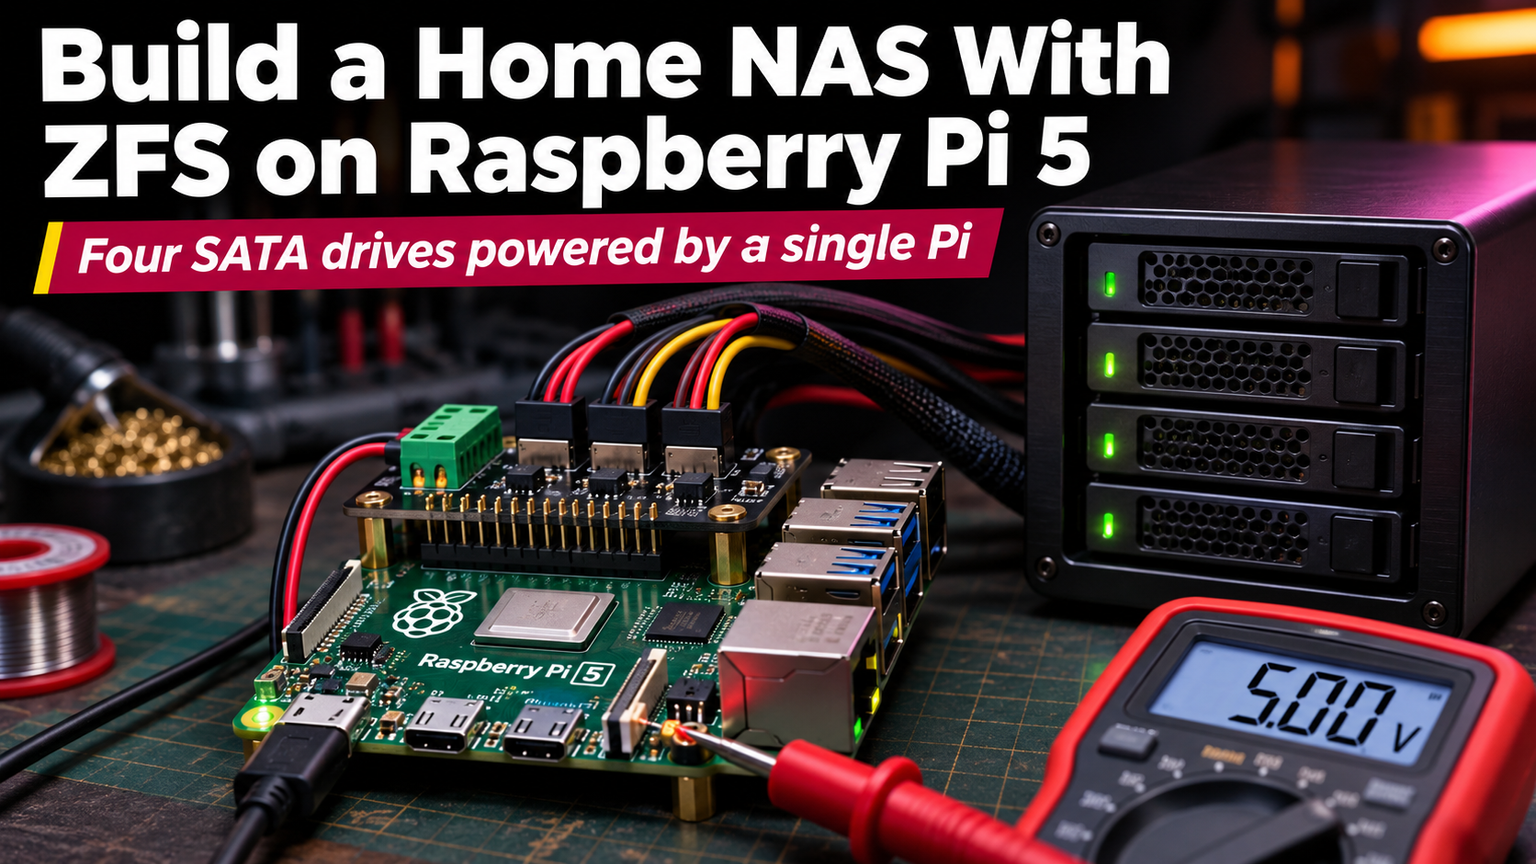
The Raspberry Pi 5 finally makes a DIY ZFS NAS practical. With PCIe Gen 2 x1, 8 GB RAM, and native NVMe boot via EEPROM, you can build a silent, low-power array that saturates 2.5 GbE for under $200. No more USB bottlenecks, no more SD-card anxiety.
Hardware Checklist
| Component | Spec | Approx. Cost |
|---|---|---|
| Raspberry Pi 5 | 8 GB model | $80 |
| NVMe HAT | PCIe Gen 2 x1 (official or Pimoroni) | $15 |
| NVMe SSD | 500 GB+ TLC, DRAM-less OK | $45 |
| 2.5 GbE USB-C Adapter | Realtek RTL8156 chipset | $18 |
| SATA HAT + Drives | Optional: 2x 3.5" HDDs via USB 3.0 | $60+ |
| Power Supply | Official 27 W USB-C PD | $12 |
| Case + Fan | Active cooling required | $15 |
EEPROM & Boot Order
Update the bootloader to enable PCIe Gen 2 and NVMe boot priority. Run the commands below, then power-cycle (not reboot) to flash the EEPROM.
💡
TipVerify link speed with `lspci -vv | grep -i 'lnksta'` — look for `Speed 5 GT/s, Width x1`.
Install & Configure ZFS
Use Raspberry Pi OS 64-bit (Bookworm). Install ZFS from the official repo, then create a mirrored pool on the NVMe + a USB-attached HDD for redundancy. Enable compression and atime=off for flash longevity.
⚠️
WarningMirror vdevs only. RAID-Z needs >3 disks and more RAM than the Pi provides. Keep a cold backup off-site.
Tune for 8 GB RAM
Limit the ARC to 3 GB to leave headroom for Samba and containers. Add the module parameter and reboot.
SMB & Remote Access
Install Samba, create a share for `tank/data`, and enforce SMB3 encryption. For remote access, run Tailscale on the Pi and your laptop — no port forwarding required.
✦
"ZFS on a Pi isn't enterprise gear, but it survives power loss, bit rot, and my own clumsy `rm -rf` tests.
— Homelab forum veteran
ℹ️
NoteMonitor pool health with `zpool status -x` in a daily cron. Scrub monthly: `systemctl enable [email protected]`.
Next Steps
Order the parts today. Flash the EEPROM, mirror the drives, and share the folder. You'll have a checksummed, snapshotted, encrypted NAS before the weekend ends — no subscription, no vendor lock-in, just silent ZFS goodness on your shelf.