Your cloud subscription just renewed. Again. You're paying monthly rent for data you already own, stored on hardware you'll never touch. There's a better way: build a NAS with a Raspberry Pi, own the stack, and pay once.
Why a Pi NAS Makes Sense
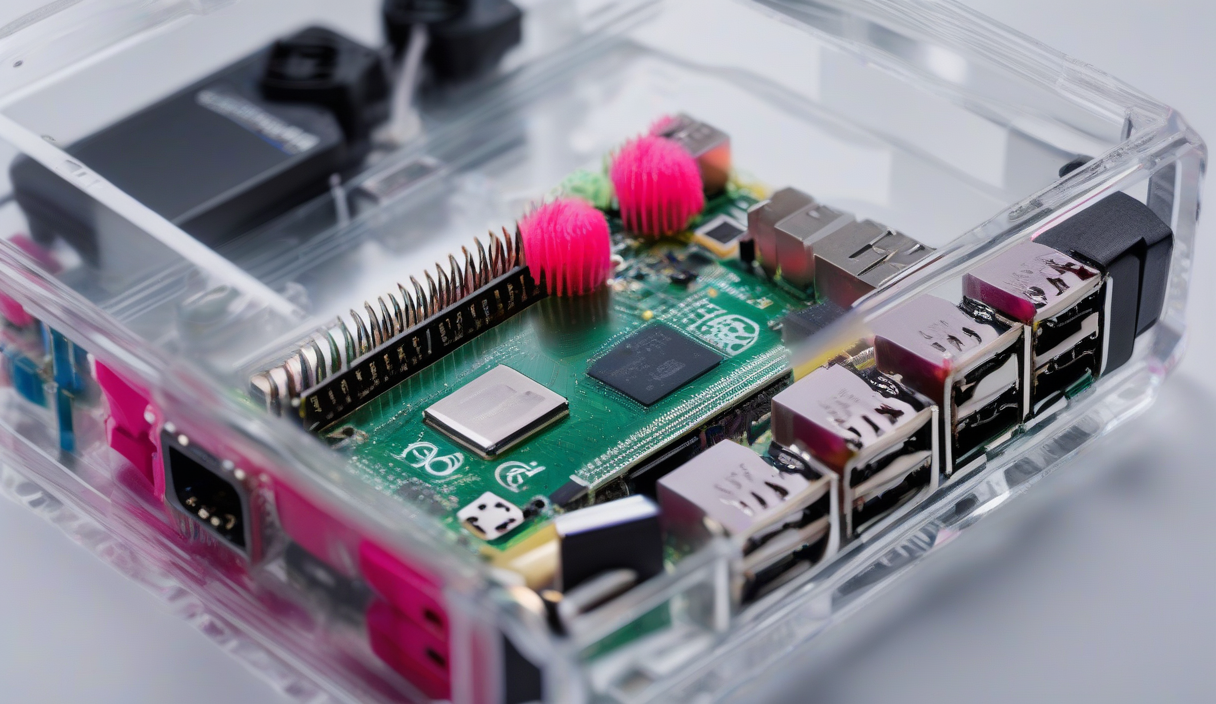
A Raspberry Pi 4 or 5 with 4GB+ RAM handles file serving, media streaming, and backups for a typical household. It sips 5-10W idle versus 50W+ for an old desktop. The trade-off? Single USB 3.0 bus bandwidth and no native SATA. We'll work around both.
💡
TipPi 5 + official M.2 HAT + NVMe SSD delivers 900 MB/s sequential. That's 3x faster than USB 3.0 and changes what's possible.
Hardware Checklist
| Component | Recommended Spec | Notes |
|---|---|---|
| SBC | Raspberry Pi 5 (4GB/8GB) | Pi 4 4GB works but slower I/O |
| Storage | NVMe SSD (M.2 HAT) or 2x USB 3.0 HDDs | NVMe for OS/apps, HDDs for bulk |
| Power | Official 27W USB-C PD supply | Undervoltage kills stability |
| Cooling | Active cooler or case with fan | Throttling kills performance |
| Network | Gigabit Ethernet (built-in) | Add USB 2.5GbE adapter for speed |
| Boot Media | 32GB+ microSD (A2 rated) | Only for bootloader; OS lives on NVMe |
Software: OpenMediaVault on Debian
OpenMediaVault (OMV) gives you a web UI, Docker plugin, SMB/NFS, and ZFS support. Flash Raspberry Pi OS Lite (64-bit) to the microSD, boot, then install OMV via script.
⚠️
WarningRun the install script on a fresh Pi OS Lite. Existing Docker/Portainer installs will conflict.
Storage Layout: ZFS Mirror for Safety
With two identical USB HDDs, create a ZFS mirror. It protects against single-drive failure and offers snapshots for ransomware recovery. NVMe holds the OS and Docker volumes; HDDs hold user data.
ℹ️
NoteAlways use /dev/disk/by-id/ paths. USB port order changes on reboot; by-id stays constant.
Essential Docker Services
Enable the OMV Docker plugin (Compose v2). Deploy these via Portainer or the OMV Compose file editor:
| Service | Purpose | Key Config |
|---|---|---|
| Samba/NFS | Native file shares | OMV handles this natively, no Docker needed |
| Jellyfin | Media server | Hardware transcoding via V4L2 on Pi 5 |
| Immich | Photos backup | Mobile apps auto-upload; ML runs on CPU |
| Paperless-ngx | Document archive | OCR + search; great for receipts |
| Uptime Kuma | Monitoring | Alerts if NAS or internet goes down |
| Tailscale | Remote access | No port forwarding; MagicDNS for local names |
Backup Strategy: 3-2-1 on a Budget
Local ZFS snapshots (hourly via sanoid) cover accidental deletion. Push encrypted borgbackup to Backblaze B2 or rsync.net for offsite. Total cost: ~$5/month for 1TB offsite.
✦
Your First Weekend Project
Order the Pi 5, M.2 HAT, NVMe, and two 4TB USB drives today. Flash Pi OS, run the OMV script, create the ZFS mirror, deploy Jellyfin and Immich. By Sunday night you'll have a media server, photo backup, and document archive — all yours, no subscription. Next weekend: add Tailscale and offsite borg. The cloud bill stops now.